Today’s blog is about one of my favourite ways to capture photography in stunning areas at sunrise and sunset, especially if they are harder to access. How you may ask? Well, it involves carrying quite a lot of weight up a mountain to sleep there for the night and hoping for the best! It is of course, wild camping!
What is wild camping you may ask?
- Wild camping is just like camping, except you camp high up on the hills for the night (or multiple nights). In reality, it’s not too dissimilar to ground level camping, the hard part is carrying your gear up and living without convenient amenities. The latter isn’t such an issue if you’re only going for one night, plus you can look forward to and treat yourself to a nice breakfast the morning after.
Is wild camping legal?
- So let’s get to the point, wild camping is exactly that, without permission on a bit of land. So strictly speaking wild camping is not legal except in Scotland and on Dartmoor. However, it’s generally tolerated if you’re out of sight and above the wall line. If caught you may be asked to move on. It is more frowned upon in the Peak District due to the risk of fire during the dry months. This is due to the amount of peat in the Peak District which can easily set fire, it is a form of fuel after all. Instead, camping in summer you would be better off to take dry & pre-cooked food. To make it completely legal, you could also seek permission from the landowners but this is often impractical and removes the wild element of wild camping. I must also point out that if the landowner catches you, they may prosecute but it would be a civil case unless damage is caused.
So why would I do it?
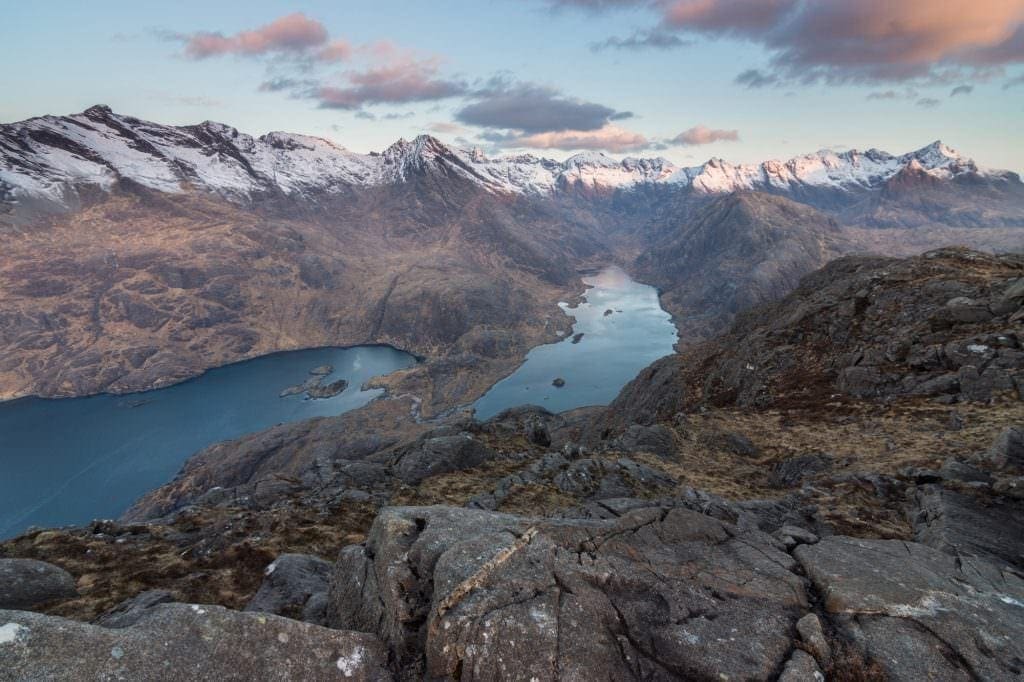
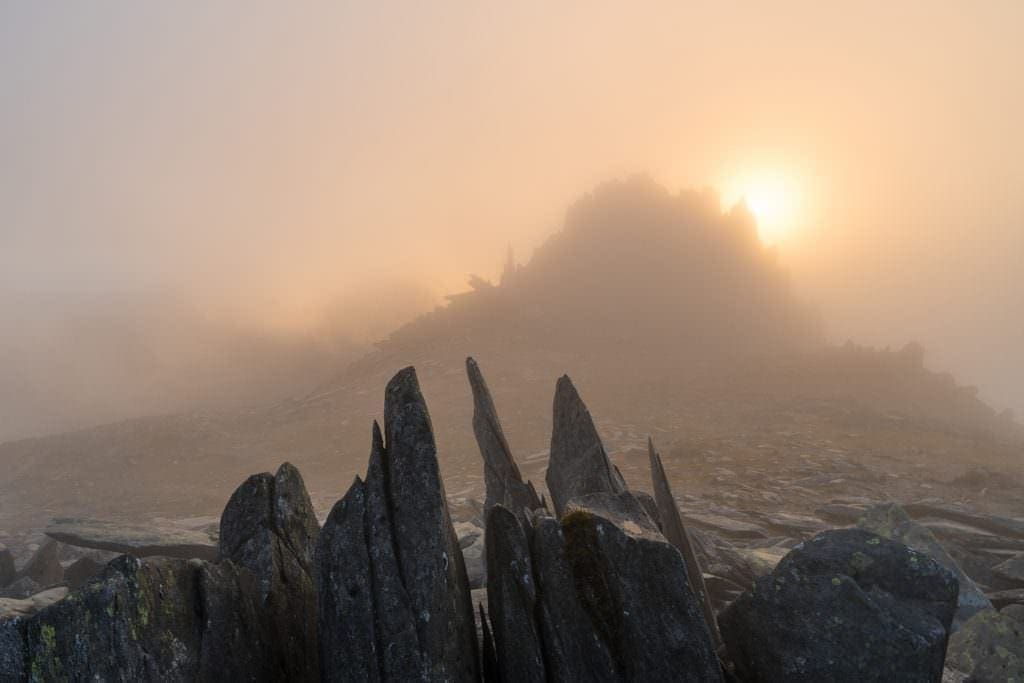
- Wild camping is a brilliant way to capture sunrises and sunsets high in the mountains where walking up would either be impractical or just plain hard going. It’s also arguably safer than walking in the dark. It’s also a great way to spend time outdoors and it’s a real experience. It allows you to become more in tune with your surroundings whilst allowing you to produce arguably more dramatic and distinct images. It is also a great way of getting fit.
But I’m happy shooting low down and retiring to my own bed, why should I be convinced?
- That’s fair enough. Each to their own as they say. However, I would urge you to look around at some of the images produced on mountain summits at sunrise and sunset and see if you can be swayed.
Do I need to be prepared and fit?
- The short answer is yes. Having mountain experience previously will help. You need to be able to navigate and also know what the mountains entail. However, going with an experienced friend or going on a workshop is a good way to get into it (Plug, I offer workshops here). The next thing to take into mind is fitness, everyone with enough time should be able to get up but do not underestimate this. Carrying your home on your back is no small feat, packs can weigh around 20kg with camera equipment and this can be the biggest crippler. I promise, the second time you try it the easier you’ll find it.
What kit do I need?
- Kit doesn’t need to be expensive to start off with and you can easily camp in summer for less than £250 but the more you spend the lighter your gear will become and the more comfortable you will be both walking up the hill and at night. Also, the more you spend the stronger kit you can get which means you can often camp higher with peace of mind for the night.
Tips:
Streamline your camera gear
Wild camping is a serious step up in weight compared to day-packs. You have to carry your home on your back and it will feel like it weighs a tonne. Now, add to this heavy kit the extra weight of your photography gear and you’re in for some serious stress to your back. Take only the camera gear with you that you’ll need. It’s very easy to say “I’ll take this lens, just in case” but trust me I’ve taken lenses and not used them many times. For example do you only shoot wide-angle shots? If so, is there any point carrying a 1kg 70-200mm? Do you need to take all your filters? Question every single piece of kit you take and be tough with yourself. After a few trips you’ll soon get used to what you do and don’t need. I generally take a 16-35mm F4 and 70-200mm F4 and leave everything else behind.
Compact camera systems:
Not really one to jump on and buy straight away but if you get serious it may be worth looking at a CSC camera system as this is a great way of reducing weight. You can start with an APS-C or Micro 4/3rd’s camera which are superbly light or even get a full-frame camera such as the Sony A7 series which will allow a lens adapter to potentially use your currently owned lenses. If you have a Canon camera, a metabones even allows autofocus.
What gear do I need?
It all depends on your budget and what your needs are. If you just want to camp in the summer months, a cheaper and sometimes lighter set up will get you by. If you are wanting to camp on summits in winter than you’re going to have to spend the money.
Shelter:
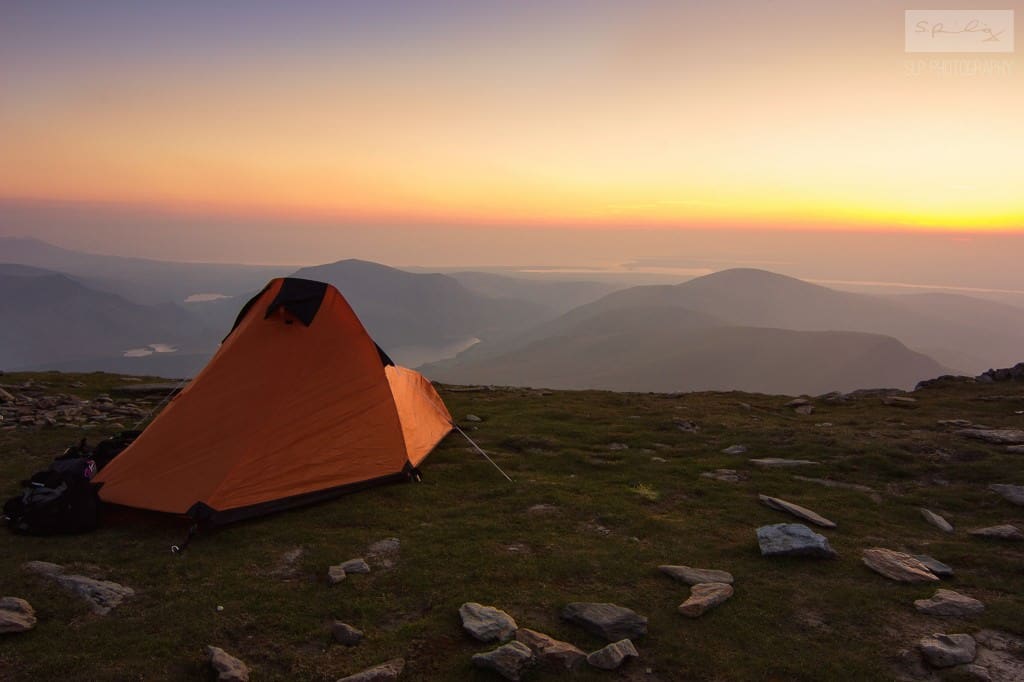
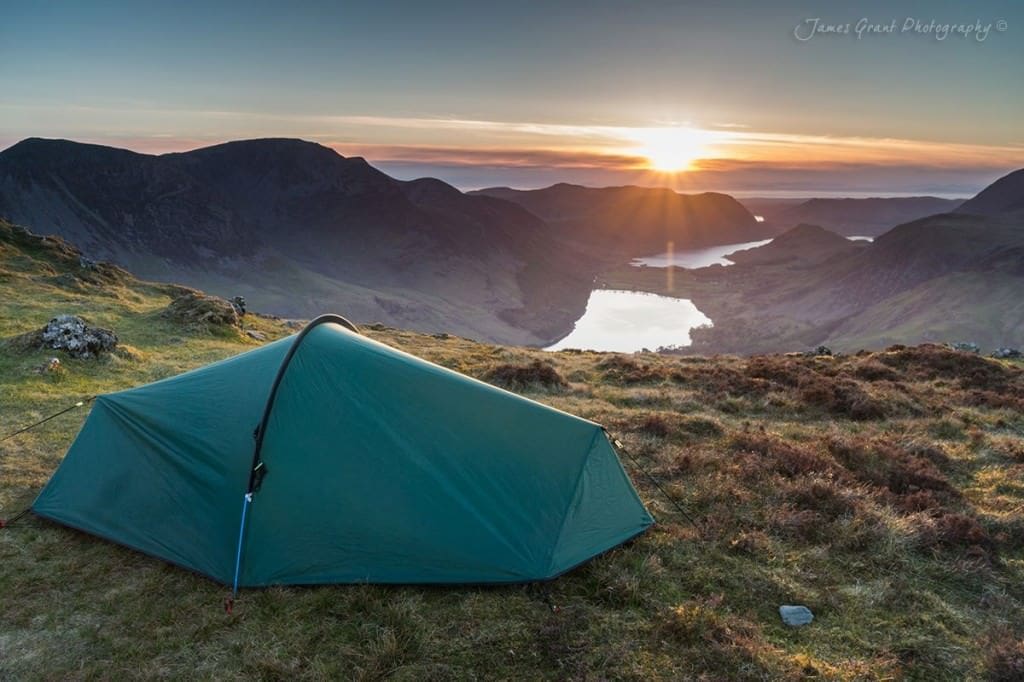
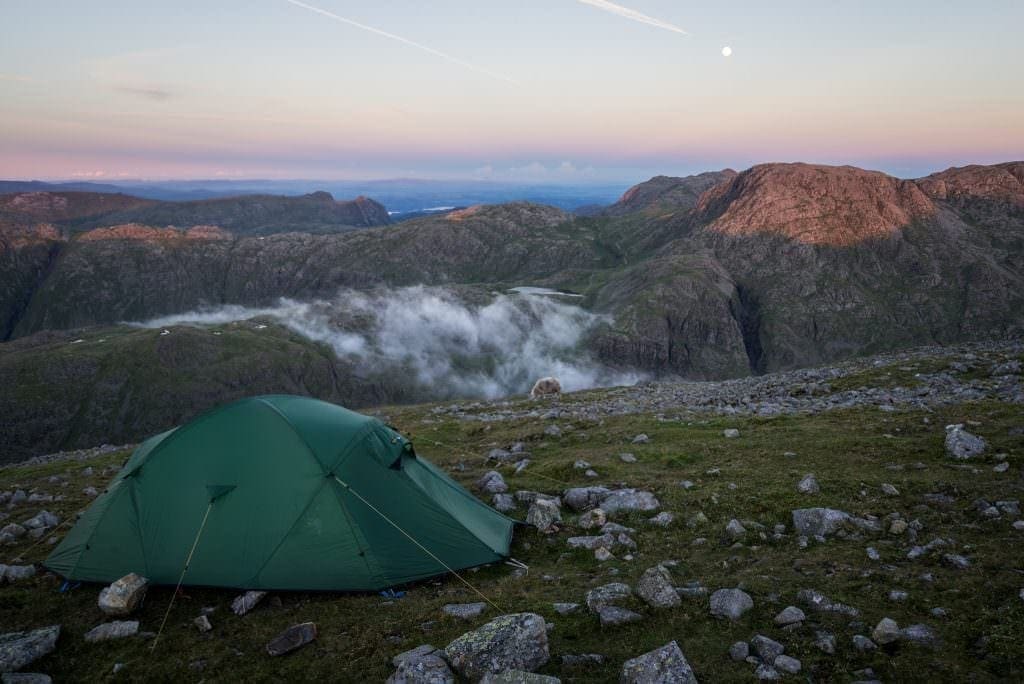
When you think camping, you think a tent is the only shelter but there are also tarps and bivvy bags available. A tent is possibly the most comfortable and protects you the most and personally the choice I made. A one man tent will suffice for most, but remember that your camera bag has to go somewhere and that may possibly outside of the living area in the porch. Buying a 2 man tent (which half the time are more like 1 and a half men) can be better to have a more comfortable night and gives you room to safely store expensive camera gear.
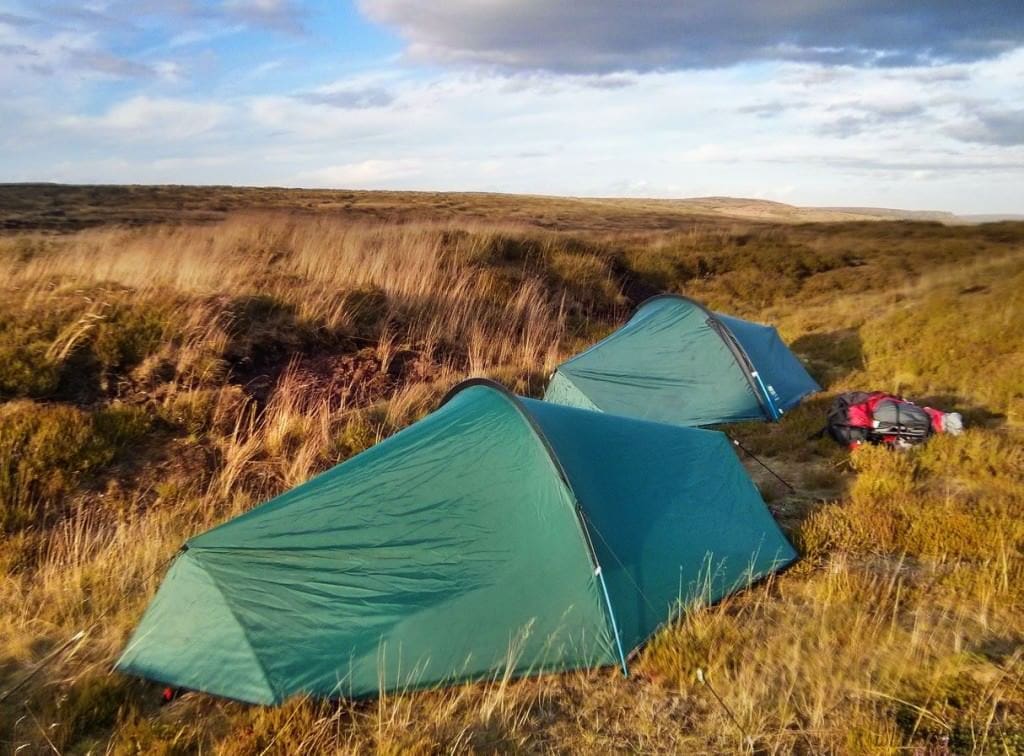
A single pole design tent like the Terra Nova Laser Competition is a good and popular starting point for anyone and will withstand a fair amount of weather, even in winter time. It’s worth noting that the Wild Country Zephyros which is basically a heavier version of the Terra Nova Laser Competition can be had for around £100.
Stretch your budget and you can get a fully geodesic tent which is a 4-season mountain tent allowing you to pitch at summits in all conditions without too much fear of your tent collapsing during the night, plus they offer much more room across and head wise. These are very strong tents but not indestructible!
Remember though, the more sturdy your tent usually the heavier it is and the cheaper it is, also the heavier it gets. It’s about finding what you are happy to carry and pay for in return for a comfortable nights sleep. I’m quite happy carrying a 3kg Terra Nova Ultra Quasar knowing I’ll be able to pitch anywhere and have a lot of room. Always remember to dry a wet tent on your return home to stop mould.
Sleeping Bags:
Sleeping bags come in both down and synthetic. Down is thought to be the best as it packs lighter and smaller which is useful when tight on space. Down does have one negative though and that is when it gets wet it doesn’t loft and keep you warm. Newer bags with Hydrophobic down may overcome this somewhat.
Sleeping bags come with a comfort rating to show how cold you can sleep in them in comfort without feeling cold. These ratings need special attention paying to. It could be the difference between life and death. In the summer months a 2 season bag with a comfort rating of around +7 should keep you warm enough but in the winter you will want to look at around -10. Everyone sleeps differently though and you’ll be better buying a bag that sleeps colder than you think you’ll need. A summer bag will weigh around 600g and a winter one around 1.1 to 1.5kg.
Rab are renowned for their high quality lightweight and reliable kit. I carry both a Neutrino 200 for the warmer months and a Alpine 600 for winter. There are other brands too, a cheaper but popular and high quality alternative are the Alpkit bags. It’s also worth noting if you’re female, you will sleep colder and you may be better off looking for a womens specific bag. Remember that leaving sleeping bags compressed will damage the down, so pack this last and unpack it into a cotton bag as soon as you get back home.
Mats:
Sleeping mats can sometimes be overlooked. Not so long back self inflating roll mats were a popular choice. They are relatively cheap, pack fairly small and provide adequate comfort. Nowadays, mats akin to air beds are more popular such as the Thermarest Xtherm. Some of these come partly filled with down to help stop the cold from the ground in the winter months. They are great because they are comfy, especially if you lie on your side. I personally use the Xtherm year round. It’s not a bad weight and while there is a summer version, I don’t mind carrying it year round.
Food:
Deciding what food you need to take is going to be one of the hardest choices. In the summer months, dry foods and precooked foods are a great way of eating quickly without having to wash up or carry extra weight. In the winter months though, a warm meal may just provide that nice morale boost to keep you going through the night. I tend to work this way, leaving the cooker at home when it’s warm. It’s simply a huge faff to be washing pots with little amenities, especially when we’re so concentrated on being out at sunset leaving less time for cooking. In the winter months I carry a pocket rocket which is a superb little cooker but I hear that the Jetboils are also good. Food’s I would recommend are ‘Look at what we found’ pouches though I do find you need two to fill you.
Super noodles are also great, easily available and don’t take up much room and weight. Sweets and sugars are also good for keeping energy levels high.
Water:
Water weighs 1kg per 1ltr and you’ll need on average 2 litres of water. For all the weight you save in kit you can easily add it back on with water. If you are confident in your route and you know water is en route then you could buy something like a travel tap which you can fill up as you go and will filter any water. If really confident, then you can drink straight from the stream but try and make sure it is flowing and be mindful of dead sheep etc which could pollute it. I know people who drink from these sources and never had a problem but it depends how brave you feel. If you don’t fancy either of these routes, your only choice will be to take a platypus filled with water.
Bag:
I’m not for one minute saying go out and buy a new bag, but one of my main bug bears over the years was the inconvenience of a normal hiking bag which I adapted to my photography needs. You will find they often have a poor way of attaching the tripod and are slow in allowing access to your gear. However, if you do have one, use it for now and see how you get on. Personally, I ended up purchasing a Naneu K5 V2 which is a 80L hiking pack designed specifically for carrying large loads. What I like the most is the fact it has separate bags within the bag, so once you are set up at base camp you can safely transport your camera gear around as if you were on a day trip. If you are just going to use a normal hiking bag, store your gear in waterproof compression sacks to protect them the most.
Clothing:
As a photographer, you may have spent years trying to fine tune your clothing. I went from being an avid walker where thinner kit was needed as I was rarely ever stood still to needing something that would keep me warm when still. For wild camping one of the best pieces of kit I can suggest is a large down jacket, they pack really small but help you stay warm when sat still at camp, when taking photos or even adds a bit of extra warmth in the sleeping bag if its a particularly cold night. Most of the other kits is the standard walking trousers, waterproofs and base layer. Ensure you have a good pair of walking boots/shoes also. Take spare underwear obviously. Check the forecasts and plan accordingly, you may save weight by not taking waterproofs for example. Not really clothing, but it’s worth taking poles as part of your walking equipment to help load bear all of that weight.
The toilet:
The toilet is the one that may get most. Avoid going to the toilet within 50m of your water source, or you are likely to pollute it for yourselves or others. Take a small lightweight shovel and toilet paper just in case you need to go for a number two. Make sure you bury any waste.
Luxuries:
It will take some time of fine tuning your kit, deciding what you can and can’t take but eventually you’ll find somewhere you are happy. Personally, I like to take a few luxuries to keep me going, especially when the nights are long. This could be a tablet or a kindle to keep my mind entertained. I stomach the extra weight to have a better time up there.
Solo or as a group?
Wild camping by definition should be wild, so in reality going in a huge convoy up the mountain makes no sense but it has to be said there is a certain security going with one or two other people. It also helps keep you occupied, but I have also been solo plenty of times and as long as you are an experienced hill walker and you anticipate the conditions there is absolutely nothing wrong with this. Have the mountain as your own for the night!
Winter wild camping:
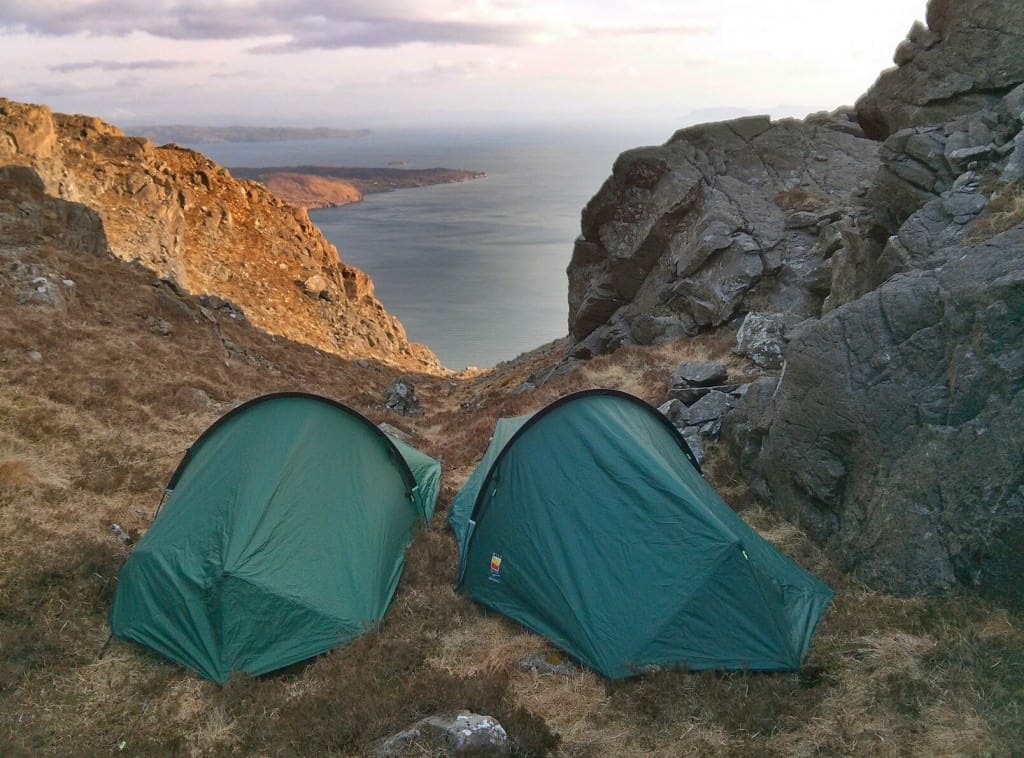
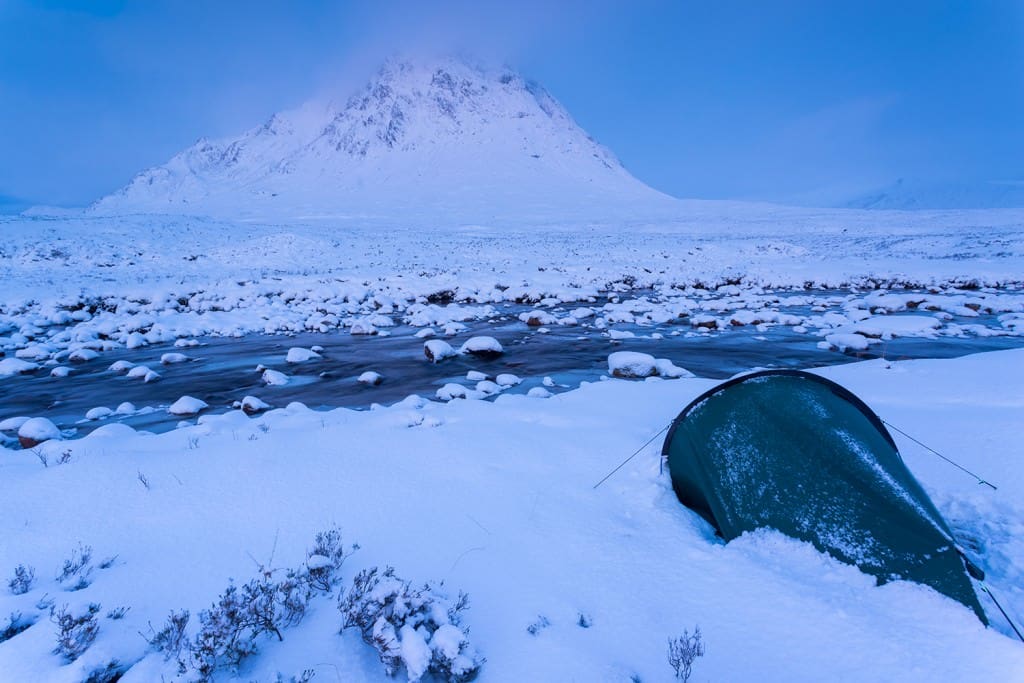
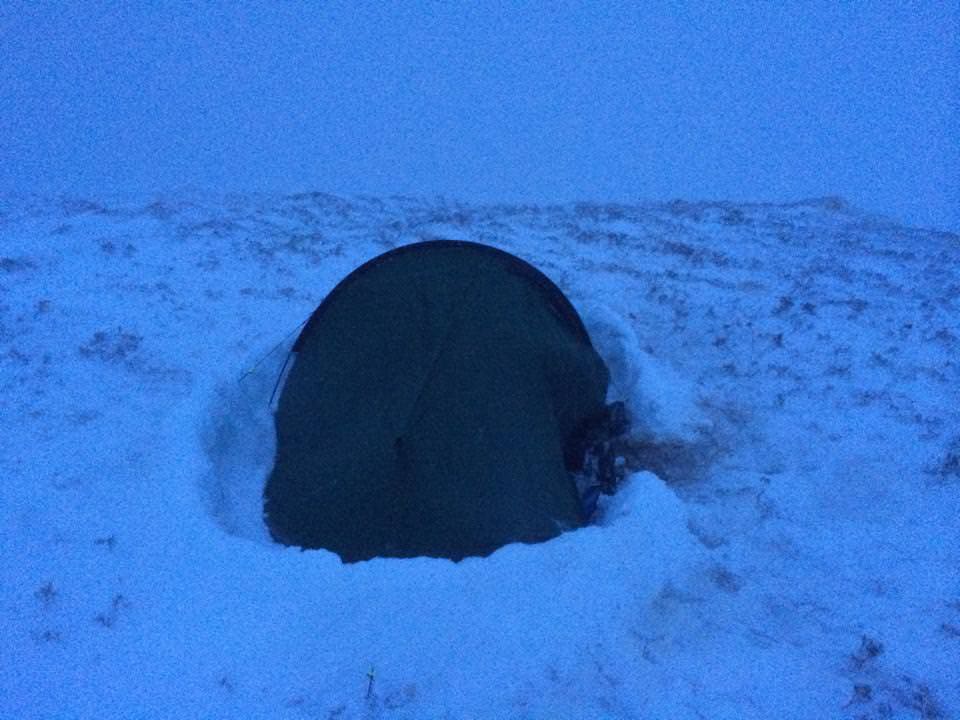
Winter wild camping simply isn’t for some, but if you’re like me you’ll relish in the challenge and enjoy the conditions you get. Some of my most memorable camps have been in winter and I absolutely love them. You’re obviously going to need to need better equipment, it really can be the difference between life and death but the plus side is you can go safe in the knowledge you’ll be good to wild camp at any time of the year. I’ve personally used a Wild Country Zephyros 2 in winter a few times and some were summit camps too. As long as its not windy the tents are up to the job. Nowadays, i’ll always take a geodesic tent and be comfortable camping anywhere, it just alleviates the ‘what if” worry. In winter your bag will become much heavier, carrying extra layers and in some cases winter equipment such as and ice axe/crampons. You need to ensure your bag will easily accommodate all this. Take a cooking stove, when you’re freezing a little warmth works wonders. Please note, you may want to invest in some gas suited for cold conditions. Finally, the nights are long in winter, you’ll be going to rest by 5pm so you will want something to pass the hours. A kindle or something to play on will help pass the time a lot better.
Ethics:
Wild campers in general are a polite group of people enjoying the outdoors and who act responsibly. When making a pitch, ensure you are out of sight. Leave nothing but footprints and take nothing but memories (and photos!). Try and avoid using the head torch on the hill too much as not to alert your presence and possibly mountain rescue. Try and pitch late and pack early.
The experience:
Wild camping can be tough, especially if not a seasoned hill walker. It can be tougher when you don’t get any photos due to weather and conditions. Remember to enjoy the experience of what you are doing. So little of the population will have experienced what you are, so revel in that. There are many wild camping trips I’ve made where I haven’t taken the camera out but still enjoyed.
Kit examples:
Below are a list of examples of kit you could buy to get you going. These are unisex. If you’re female, you may want to research into women’s specific rucksacks and sleeping bags. Links were working at time of writing (March 2017).
Low budget – £275
Coleman Bedrock Tent – £60
Vango Ultralite Pro 300 Sleeping Bag – £75
Multimat Superlite Air – £40
Mammut Air Pillow – £15
Helvellyn 65 + 10 Rucksack – £55
Alpkit Kraku Stove plus gas – £30
Medium Budget – £500
Naturehike Mongar 2 Tent – £96
SkyeHigh 700 Sleeping Bag – £175
Multimat Superlite Air – £40
Mammut Air Pillow – £15
Dueter Air Contact 55 + 10 – £137
MSR Pocket Rocket plus Gas – £35
High Budget – £1415
Terra Nova Ultra Quasar – £550
Rab Neutrino 600 Sleeping Bag– £380
NeoAir Xtherm Mat – £125
Mammut Air Pillow – £15
Jetboil Stove – £90
As you can see the budgets vary greatly and shows how eye wateringly expensive it can get. Don’t feel strict to stay to the above though, feel free to mix and match e.g. you may want to have a strong tent but only camp in summer so a cheaper sleeping bag would suffice. There’s also nothing to stop you upgrading as budget allows and experience is gained. This is exactly what I did.
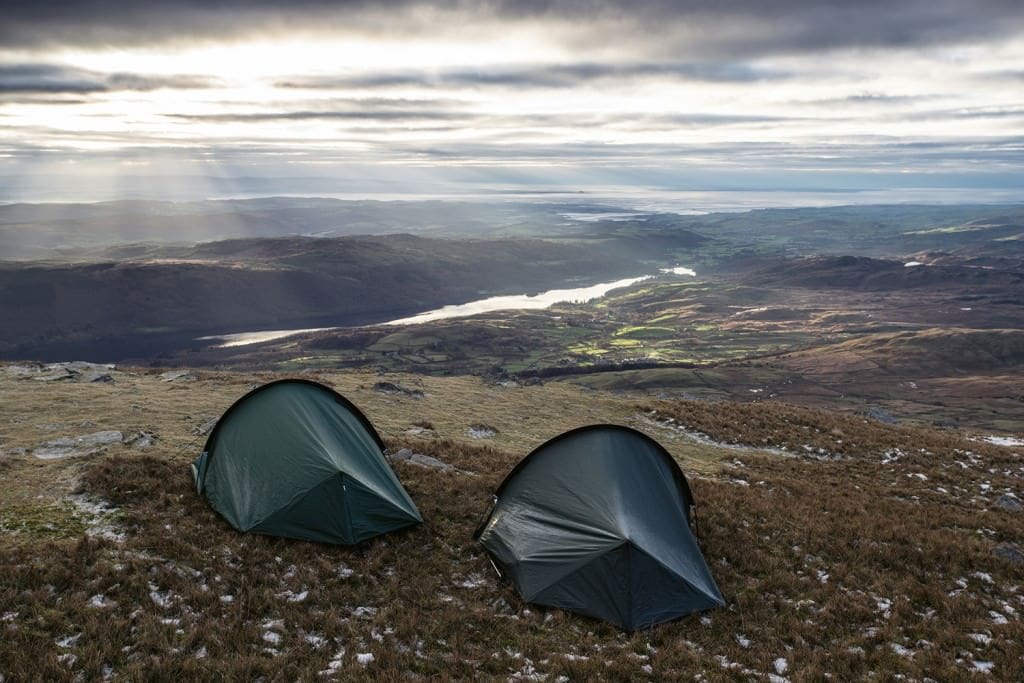
My main kit for those interested now consists of the following:
Terra Nova Ultra Quasar
Rab Alpine 600 for colder months or Neutrino 200 for when its warm.
NeoAir Xtherm Mat
Mammut Air Pillow (Although quite often I’ll put my down jacket in a dry bag and use that as a pillow).
Naneu 5K V2
MSR Pocket Rocket (Only really cook in winter months)
Cheap mini shovel and toilet roll (just in case, never used!)
Travel Tap Bottle
3l Hydration Sack
In addition to the above and my normal photography gear I also carry a down jacket (usually) as well as things like small knives and forks, compass etc. In summer I’m looking at around 20kg and in winter around 25kg but I pack a lot because I can handle the weight. Your pack can be made much lighter with careful planning. The more you go the less you find you take once you streamline your approach.
So there you have it, my tips and advice for wild camping. Go on, get out and enjoy the freedom is provides. You’ll soon get the bug.
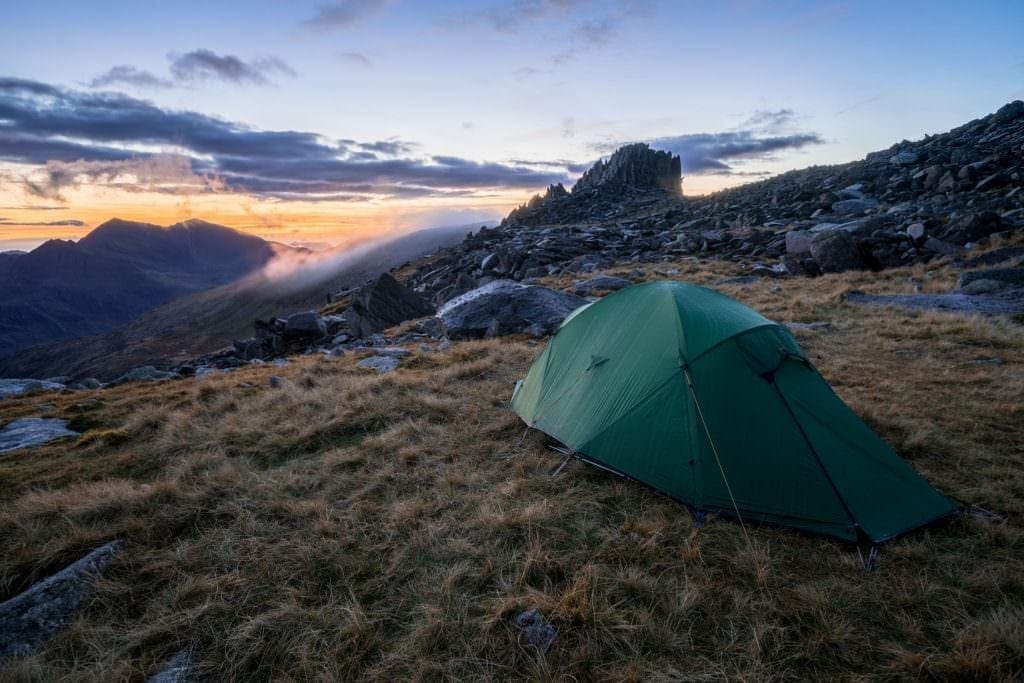
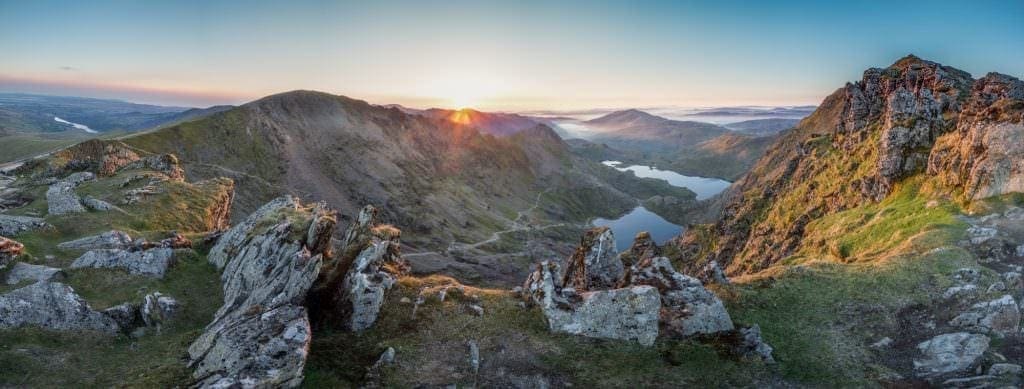
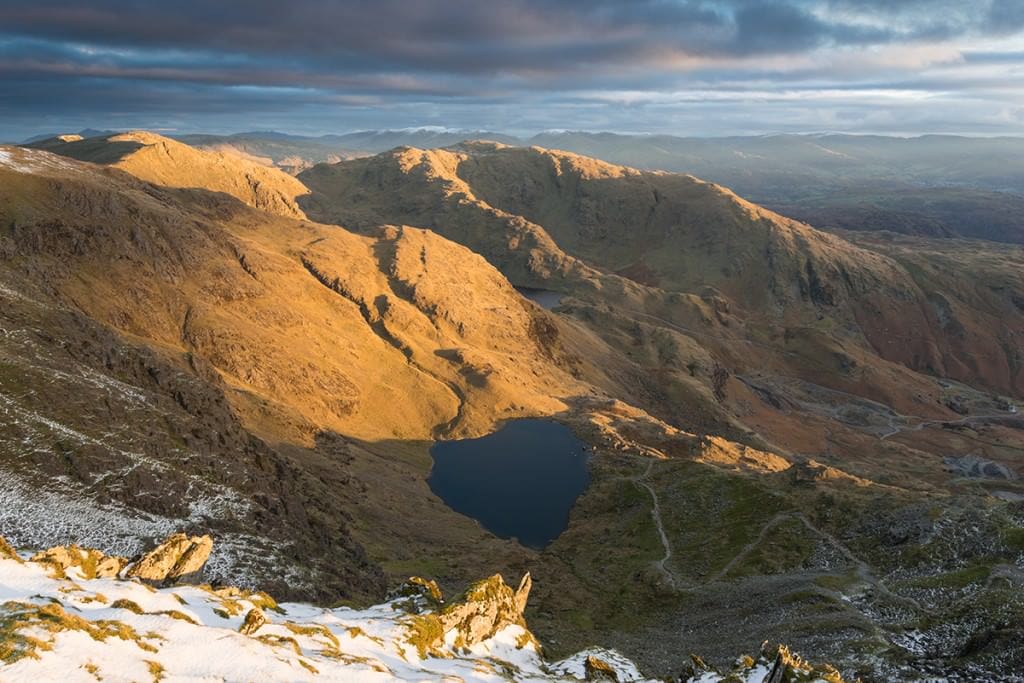
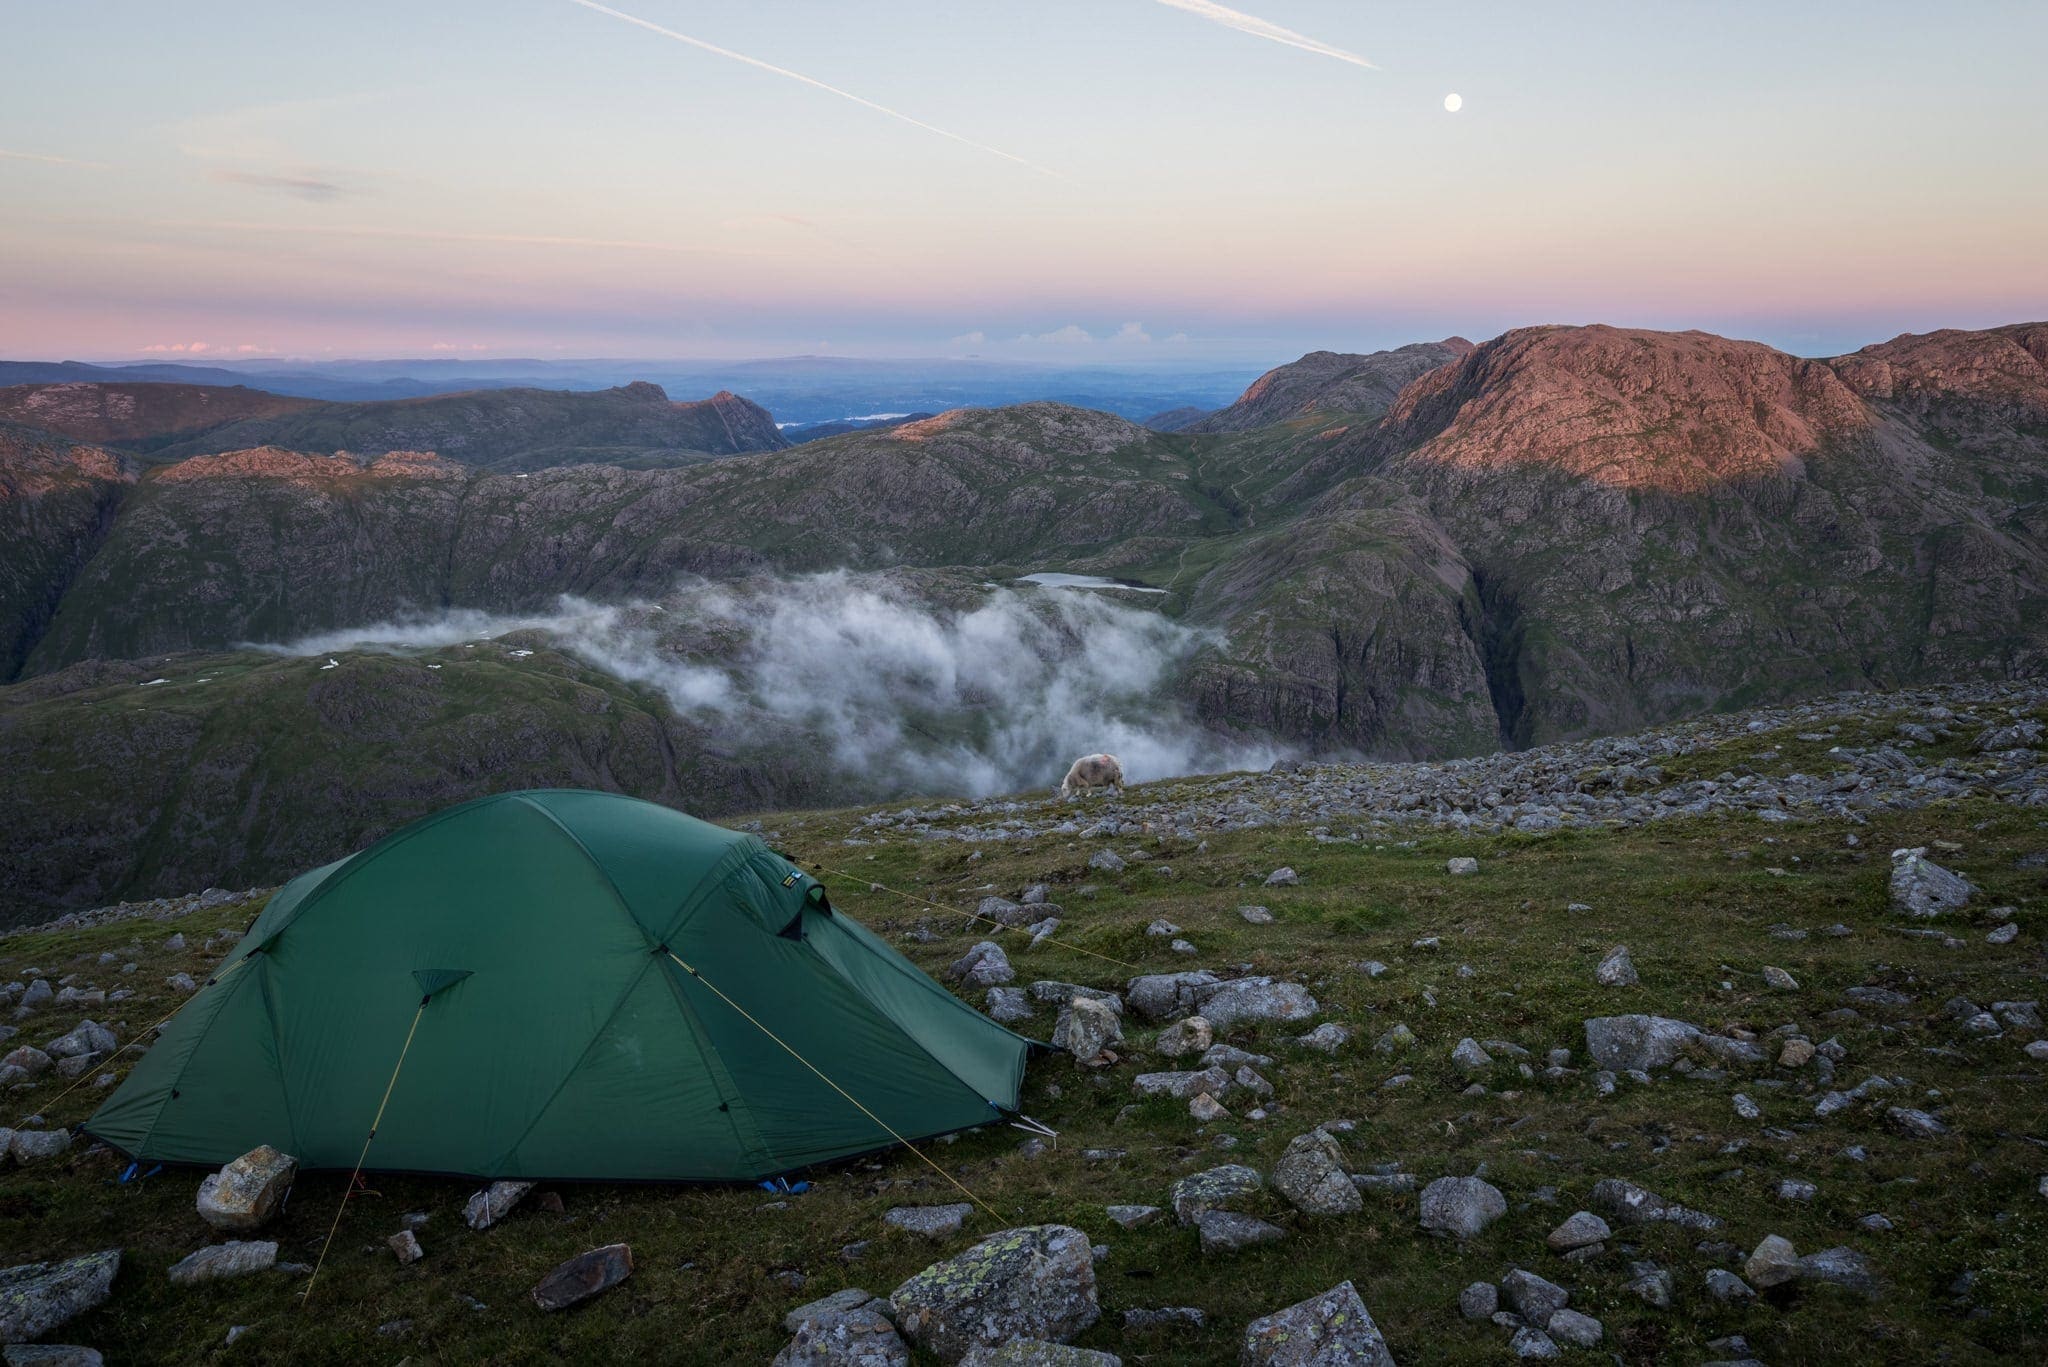
Oh…and some more pictures if you’re not convinced yet:
James,
Great article – I have done a fair bit of hill walking, and am just about to do my first wild camp.
I couldn’t find any information on pack weights for photographers, and was panicking a bit when I actually weighed my pack, with camera gear and fairly lightweight camping gear, food etc, still came in at 13kg.
I have hiked with similar equipment previously, so weight I don’t think is an issue for me, but when you read about people going ultra lightweight it makes you think. Seeing your 20kg summer pack weight is reassuring.
Ta,
Andy
Hi Andrew,
Thanks for the comment. You’ve done well with such a light pack weight. I’ve just bought a new bag which will hopefully bring my weight down but my day pack can often be 13kg!+ I think water is one of my main down points.
Great write up of what you may need, I was looking into photography wild camping as I have never done it…. great kit suggestions and in all budgets. thanks James
No problem – glad it was of help 🙂